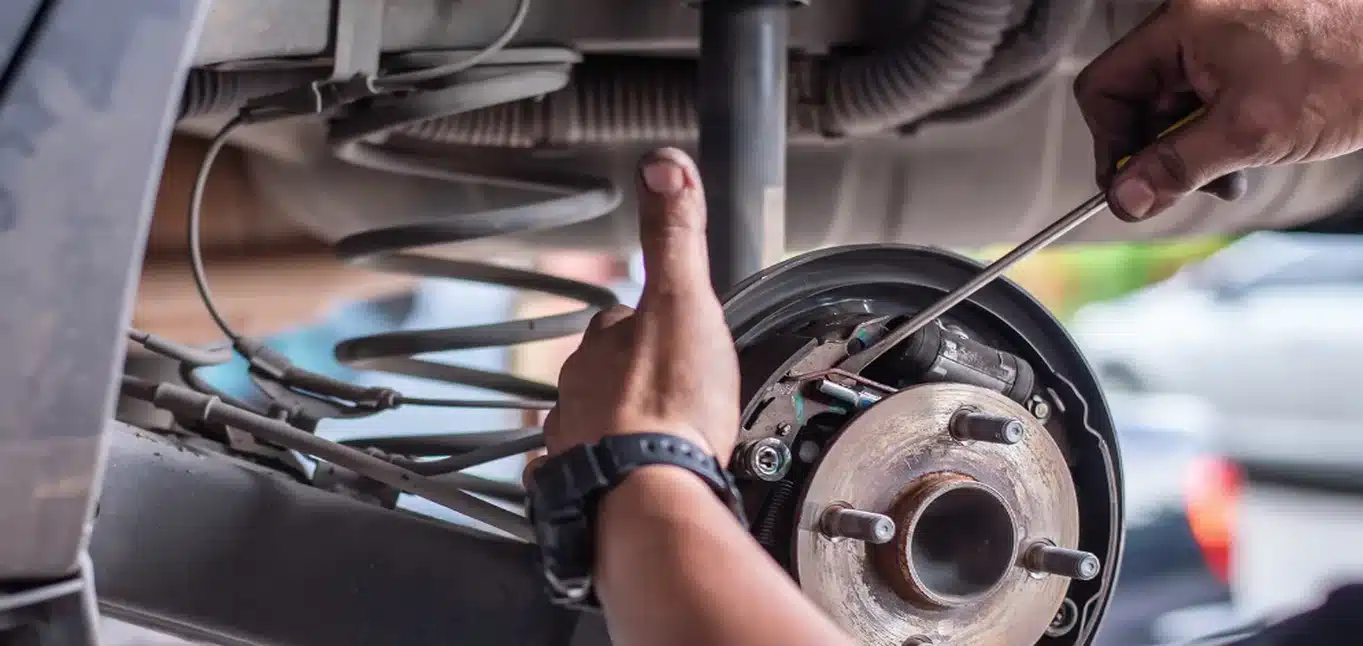
Regular oil changes are essential for keeping your engine running smoothly and avoiding costly repairs. With a little preparation, you can perform this simple maintenance task yourself. In this guide, brought to you by Santa Ana Auto Care, we’ll walk you through the process of changing your car’s engine oil like a pro. Plus, we’ll highlight the importance of general car maintenance, including services like Auto Air Conditioning Repair.
Why Changing Engine Oil is Essential
Engine oil lubricates the moving parts of your engine, reducing friction, cooling components, and preventing wear and tear. Over time, oil breaks down and collects debris, affecting its efficiency. Regular oil changes ensure your vehicle performs at its best and extends engine life.
Tools and Supplies You’ll Need
Before you begin, gather the following tools and materials:
- New engine oil (refer to your owner’s manual for type and quantity)
- New oil filter
- Oil filter wrench
- Socket wrench and appropriate socket size
- Oil drain pan
- Funnel
- Gloves and safety goggles
- Old rags or towels
- Jack and jack stands (if needed for clearance)
Step-by-Step Instructions to Change Engine Oil
1. Prepare Your Vehicle
- Park your car on level ground and engage the parking brake.
- Let the engine cool if it’s been running, or warm it slightly to help oil drain easily.
2. Locate the Drain Plug and Oil Filter
- Refer to your owner’s manual to find the oil drain plug, usually located at the bottom of the oil pan.
- Position the oil drain pan under the plug.
3. Drain the Old Oil
- Using a socket wrench, loosen the drain plug and remove it slowly. Allow the oil to drain completely into the pan. Be cautious of hot oil.
- Once drained, reattach and tighten the drain plug securely.
4. Replace the Oil Filter
- Use the oil filter wrench to remove the old filter. Be prepared for some oil to spill out.
- Apply a thin layer of fresh engine oil to the rubber gasket of the new filter to ensure a proper seal.
- Install the new filter by hand, turning it clockwise until snug.
5. Add Fresh Oil
- Locate the oil filler cap on the top of the engine, usually marked with an oil can symbol.
- Insert the funnel and pour in the recommended amount of new oil slowly.
- Replace the filler cap securely.
6. Check the Oil Level
- Start the engine and let it run for a few minutes, then turn it off.
- Wait a few minutes for the oil to settle, then use the dipstick to check the level. Add more oil if necessary until the level is within the manufacturer’s specifications.
7. Dispose of Used Oil Properly
- Never pour used oil down the drain. Take it to an authorized recycling center.
8. Reset Your Oil Change Indicator
- If your vehicle has an oil change indicator, follow the manual instructions to reset it.
9. Document the Maintenance
- Record the date and mileage of the oil change for future reference.
Pro Tips for Success
Why Choose Santa Ana Auto Care for Maintenance Needs?
At Santa Ana Auto Care, we pride ourselves on delivering reliable automotive services in Houston, TX. Our ASE-certified technicians provide everything from oil changes to Auto Air Conditioning Repair, ensuring your car remains in top condition. With decades of experience, we’re your trusted partner for all your automotive needs.
Visit us today for a hassle-free service experience. Trust your car to the experts at Santa Ana Auto Care.